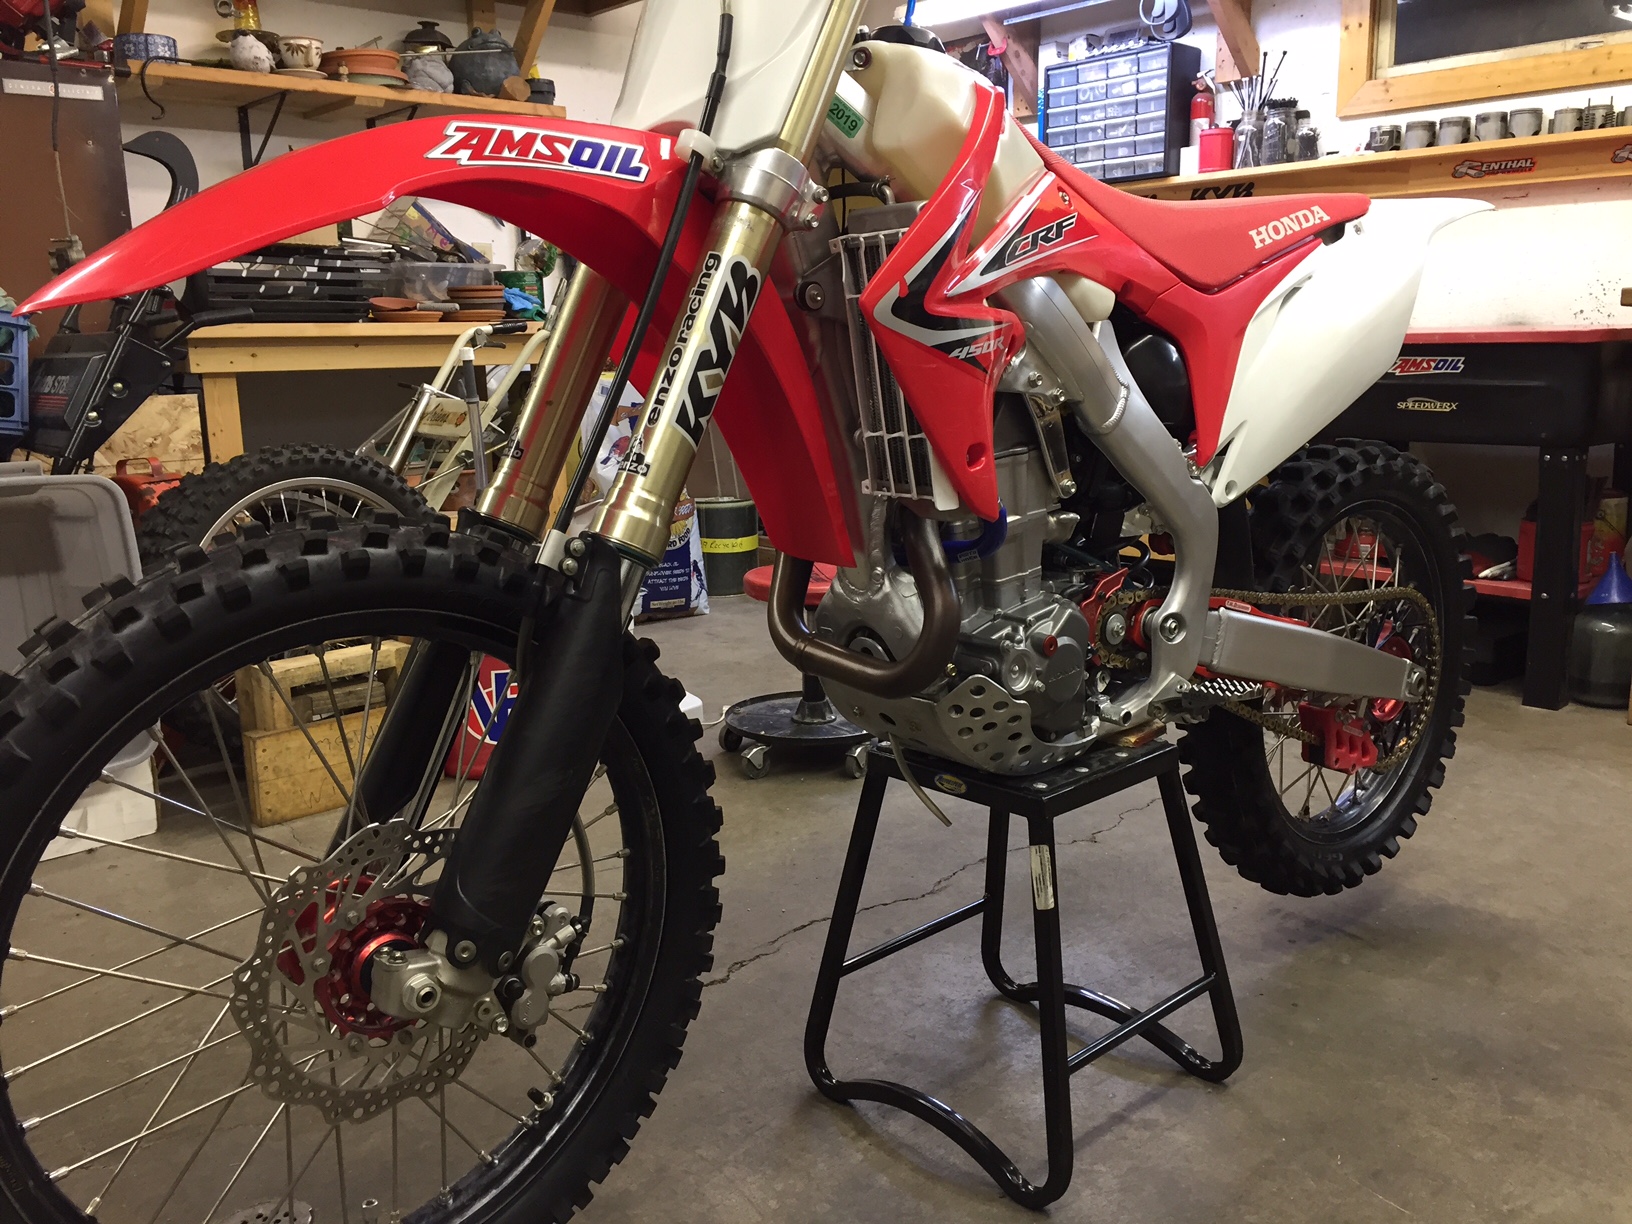
A dirt bike earns its name for a reason: it gets dirty.
To maximize your bike’s longevity and appearance, make sure to wash it as needed. Here are a few tips.
- Avoid caustic or abrasive detergents
Caustic cleaners can leave a residue on anodized aluminum, and you don’t want to mar the finish of your beautiful bike. Abrasive cleaners may help remove tough-to-clean scuff marks or other gunk, but they can gouge plastic parts.
PRO TIP: What’s the best way to remove those tough-to-clean scuff marks from your bike? Former Northern Series Women’s Class Champion Samantha Laderer recommends a Mr. Clean Magic Eraser, available almost anywhere cleaning supplies are sold. “They work wonders cleaning the black marks your boots leave on your bike,” she said.

- Use a mild detergent
A dish detergent, such as Dawn dish soap or a similar brand, works great for cleaning mud, dirt and other debris from your bike. Best of all, it won’t scuff the plastic or leave a film on metal parts. And, it’s affordable and readily available at most retailers. Just mix a little with warm water and clean your bike using a soft-bristled brush.
- Remove mud chunks by hand
Before washing, remove any large chunks of dried mud by hand. Dig them out with your fingers or, to protect your future hand-modeling career, use a rubber mallet or similar soft object to dislodge mud. Don’t gouge and jab with a screwdriver, metal scraper or similar object.
- Take care if pressure washing
Some riders use a pressure washer, others shy away from them. While they can speed the cleaning process and blast through caked mud, they can provide a little too much muscle if you’re not careful. Avoid directly spraying the head stem, wheel bearings and chain (if you use an O-ring chain). The pressurized water can ruin the seals and allow water to infiltrate parts, causing corrosion. Passing a stream of water past these parts is fine, but avoid prolonged and direct exposure.
PRO TIP: Laderer recommends securing your bike firmly on its stand if pressure washing. “I’ve seen riders knock their bikes off the stand with a pressure washer before,” she said.
- Use a 40-degree nozzle
If you elect to use a pressure washer, install a 40-degree nozzle (many are distinguished by being white in color). They broadcast a larger swath of water that’s safer for your bike and that helps cover a larger area more quickly. Under no circumstances should you use a 0-degree nozzle and blast a jet of water directly on the bike. If you do, be prepared to replace decals, graphics and even the occasional plastic part or two after they end up across the yard.
- Use an air-box wash cover and a muffler plug
An air-box wash cover requires you to remove the air filter and install the cover to prevent water from infiltrating your engine. In the same vein, use a muffler plug to guard against water from ruining the muffler packing. It’s also a good precaution to put the piston at top-dead center as extra insurance against water entering the engine. You can also use plastic bags to cover the air filter and muffler, but it’s not as effective.

- Pay special attention to…
Radiator – You’re bike will run cooler if the radiator fins are clean and free of debris. Make sure to take a little extra time and wash them thoroughly. Again, however, take care if pressure washing to not bend the fins.
Chain area – Clean dirt from the chain guide to prevent it from scouring the metal chain.
Shift lever – Ensure all the dirt and mud are cleaned from the springs.
Comments
Share: