In this video, we show you how to rebuild the top-end of a two-stroke dirt bike.
How to Rebuild a Two-Stroke Dirt Bike Top-End
Check your service manual for torque specifications, fluid capacities and fastener sizes for your specific bike.
Tools You Need
- Torque wrench
- Ratchet, sockets and wrenches sized to your bike
- Pliers
- Phillips and regular screwdrivers
- Allen wrenches
- Drain pan
- Exhaust-spring puller (or length of wire)
- Pick
- Micrometer
- Telescopic cylinder-bore gauge
- Engine coolant
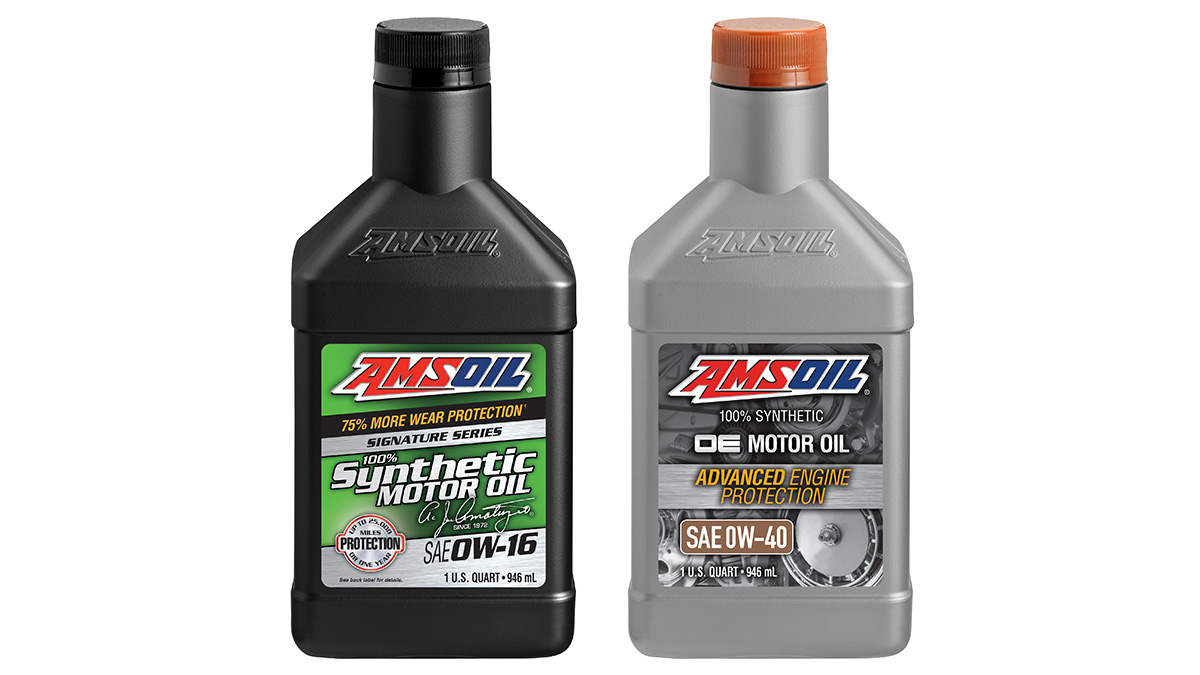
- Two-stroke oil
Drain the Coolant
First, drain the coolant from the engine. To do that, loosen the radiator cap and open the drain on the water pump.
Remove the Plastic
Next, remove the plastic from the bike. The exact procedure will vary depending on your bike. Typically, it requires removing the seat, gas tank, front fairing and airbox.
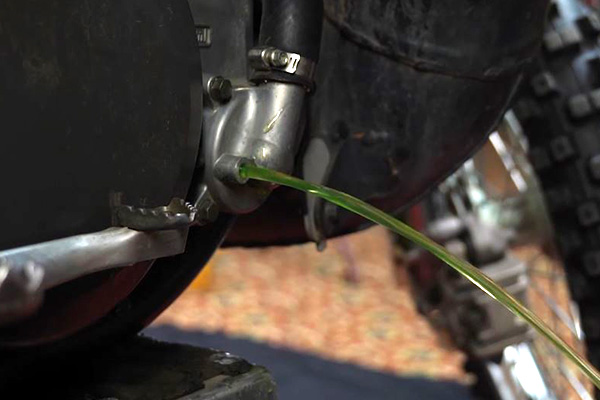
Before removing the gas tank, move any clips holding the fuel line and slide it off carefully. There might be some fuel in the line, so have a drain pan ready.
Remove the Exhaust
Start by removing the head pipe, which is held on with exhaust springs. You can use an exhaust-spring puller. But, if you don’t have one, use a piece of wire looped through the spring to pull the springs off.
Next, remove the slip-on, or tailpipe, first. While you’re doing this job, it’s a good idea to look the bike over and see if there are any areas that need maintenance.
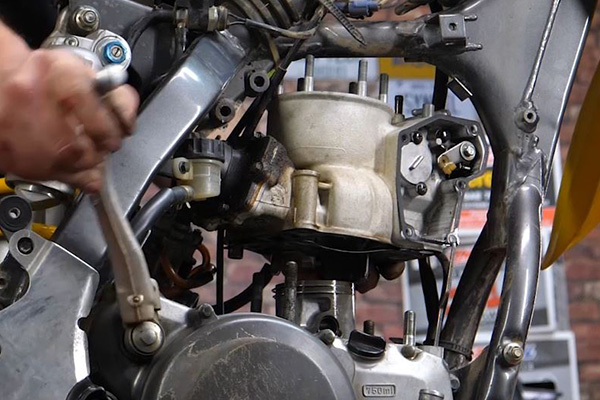
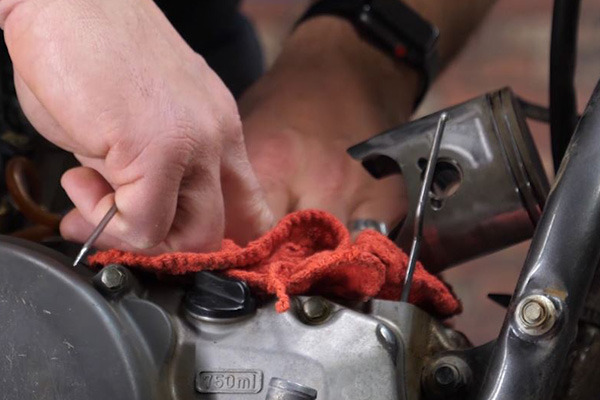
Remove the Cylinder
Remove anything attached to the cylinder head, including coolant lines, the carburetor and the spark plug.
When you remove the cylinder head, avoid loosening the bolts in a clockwise pattern. Instead, use a star pattern. Always work across from the bolt you just loosened. This loosens the head in a uniform pattern to help prevent warping or cracking.
Before you can remove the cylinder, disconnect the exhaust power valve. Removal will vary depending on your bike. Check the service manual for instructions.
Finally, remove the radiators. Now, you can remove the cylinder. Loosen all the bolts holding it to the lower end. Carefully remove it from the piston. Watch for gaskets hanging up or falling off the cylinder.
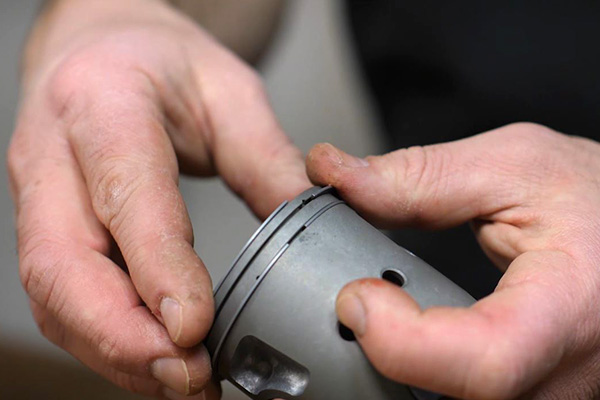
Remove the Piston
Before removing the piston, place a clean rag around the base of the cylinder to keep dirt and, most importantly, the piston circlip from falling into the engine. Use an angled pick to get behind the circlip and pry it loose. Hold it with your other hand to prevent the clip from flying across the shop.
Once the circlip is removed, push the wrist pin out of the piston. Carefully lift the piston out of the way. Set the connecting rod down and pull out the piston.
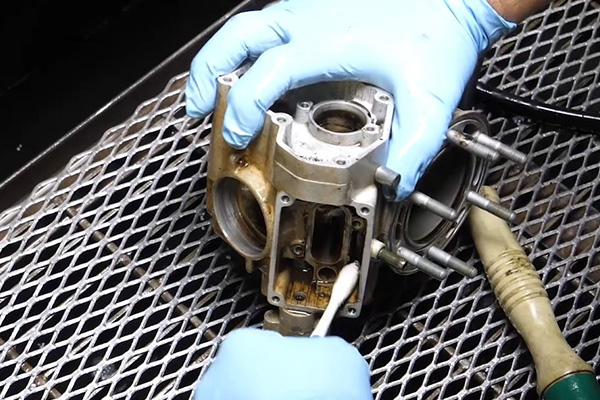
Disassemble the Cylinder
Lay the cylinder on a workbench to prepare it for cleaning and measuring. Start by disassembling the cylinder. Remove the intake boot and the reed valves. Inspect them for chips or breakage. Replace if necessary.
Next, remove the power-valve assembly, which will vary depending on your bike. Consult the service manual. If you don’t have a service manual, take plenty of images with your phone to aid in reassembly.
The exhaust power valve is placed directly in the exhaust stream, so it can accumulate carbon. Using a high-quality two-stroke oil, however, goes a long way toward maintaining valve cleanliness and operation. Ensure the valve still moves and doesn’t stick. Remove the main valve.
Clean all the Parts
Once all the parts are removed, you’re ready to clean them. It’s vital you clean everything during a dirt bike top-end rebuild. A poor job can leave debris behind, which can lead to wear and premature failure. Use a parts washer, if possible, or a good parts cleaner.
Measure all the Parts
Once the parts are clean, measure them to ensure they’re within the factory tolerances given in the service manual. You need to understand if the bike has a stock piston or not, if it’s been bored or if it’s been modified in any other way. All these factors affect the bore-clearance requirement, which is the distance between the piston and the cylinder. If incorrect, the engine can seize or, if the clearance is too wide, the piston will rattle in the cylinder and wear out. In severe cases, the piston skirt can break and ruin the engine. Your measurements and your cleaning will make or break your dirt bike top-end rebuild.
Inspect all the Parts
Once the parts are clean, visually inspect them for wear, scratching, scuffing or other distress. Some wear can be normal depending on hours on the bike and operating conditions. If you notice lines on the piston, check for corresponding marks on the cylinder wall. Some bikes feature port designs that apply increased pressure to specific areas of the piston skirt. In such cases, any lines on the piston are a normal part of the piston’s lifespan and an indicator that it’s time for replacement.
Prepare New Parts for Assembly
It’s a good idea to lay out all the new parts in preparation for installation. This includes the following:
- Piston
- Wrist pin
- Roller cage
- Piston rings
- Circlips
- Cylinder base and head gaskets
- New gaskets for the exhaust power valve cover and intake cover
It’s important to change the head gaskets because they can develop flat spots over time. If you reuse them, they tend to leak.
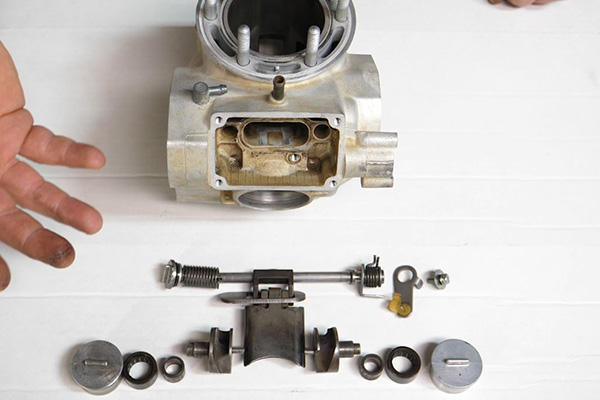
Assemble the Exhaust Power Valve
Lay out all the cleaned exhaust-power-valve parts on the workbench. This helps you visualize how everything fits together. It’s always handy to have a diagram available or the service manual.
Apply a thin coat of new two-stroke oil to parts during reassembly. Once it’s reassembled, install the power valve in the cylinder and replace the covers and gaskets.
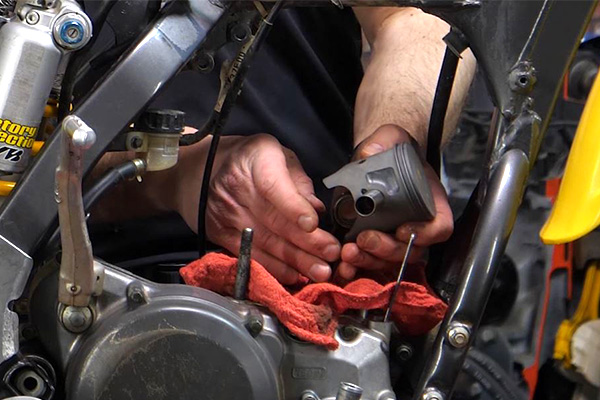
Install the Piston
Ensure the new piston’s measurements are within factory specifications. If so, install the rings. Lay the first ring on the top of the piston and carefully bend one corner of the ring down. Work the ring down and around with your thumb. It’ll settle into the first groove. Work it down into the second groove. Now, install the other ring, taking care since the rings can be fragile.
Next, apply a thick coat of two-stroke oil to the roller cage and insert it into the rod. With shop rags over the engine case to ensure nothing falls in, attach the piston to the connecting rod. First, however, attach one of the circlips to the piston. That way you only must install one more once the piston is attached to the connecting rod.
Make sure the piston is oriented correctly. Most have an arrow on the crown that must point a certain way. Check the service manual for your bike. With the wrist pin started, set the piston in place and lightly press the wrist pin until it slides in place. Install the other circlip.
Next, lubricate the piston by applying a light coat of oil on the skirt and around the ring surfaces.
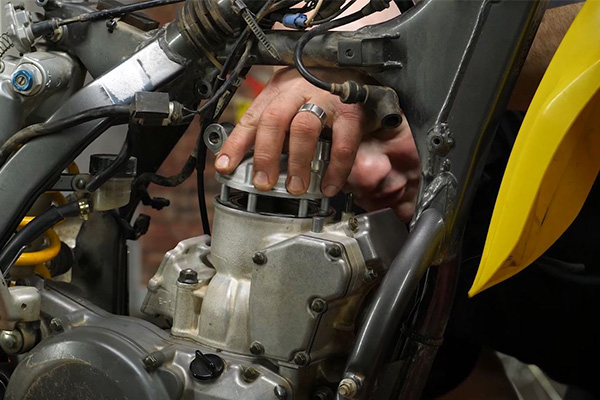
Install the Cylinder
The first step is to install the new base gasket. Carefully work it over the piston and then over the cylinder studs. Make sure it drops down evenly and lays flat.
Next, install the cylinder dowel pins. Now you’re ready to lower the cylinder onto the piston. Make sure to apply a good coating of two-stroke oil in the cylinder. Beforehand, ensure the piston-ring end gaps align over the ring-locating pins on the intake side of the piston.
With the cylinder held over the top of the piston and the ring gaps aligned, squeeze the rings with your fingers and start the piston into the cylinder. It can be a delicate process. Be patient and take your time. Once you get it started, it’s a good idea to make sure everything is lined up. Carefully start lowering the cylinder on top of the locating studs. With the cylinder in place, perform a quick check for fit and torque the nuts to the proper specs given in the service manual.
Install the Power-Valve Linkage
With the cylinder nuts torqued, connect the power-valve linkage and reinstall the cover.
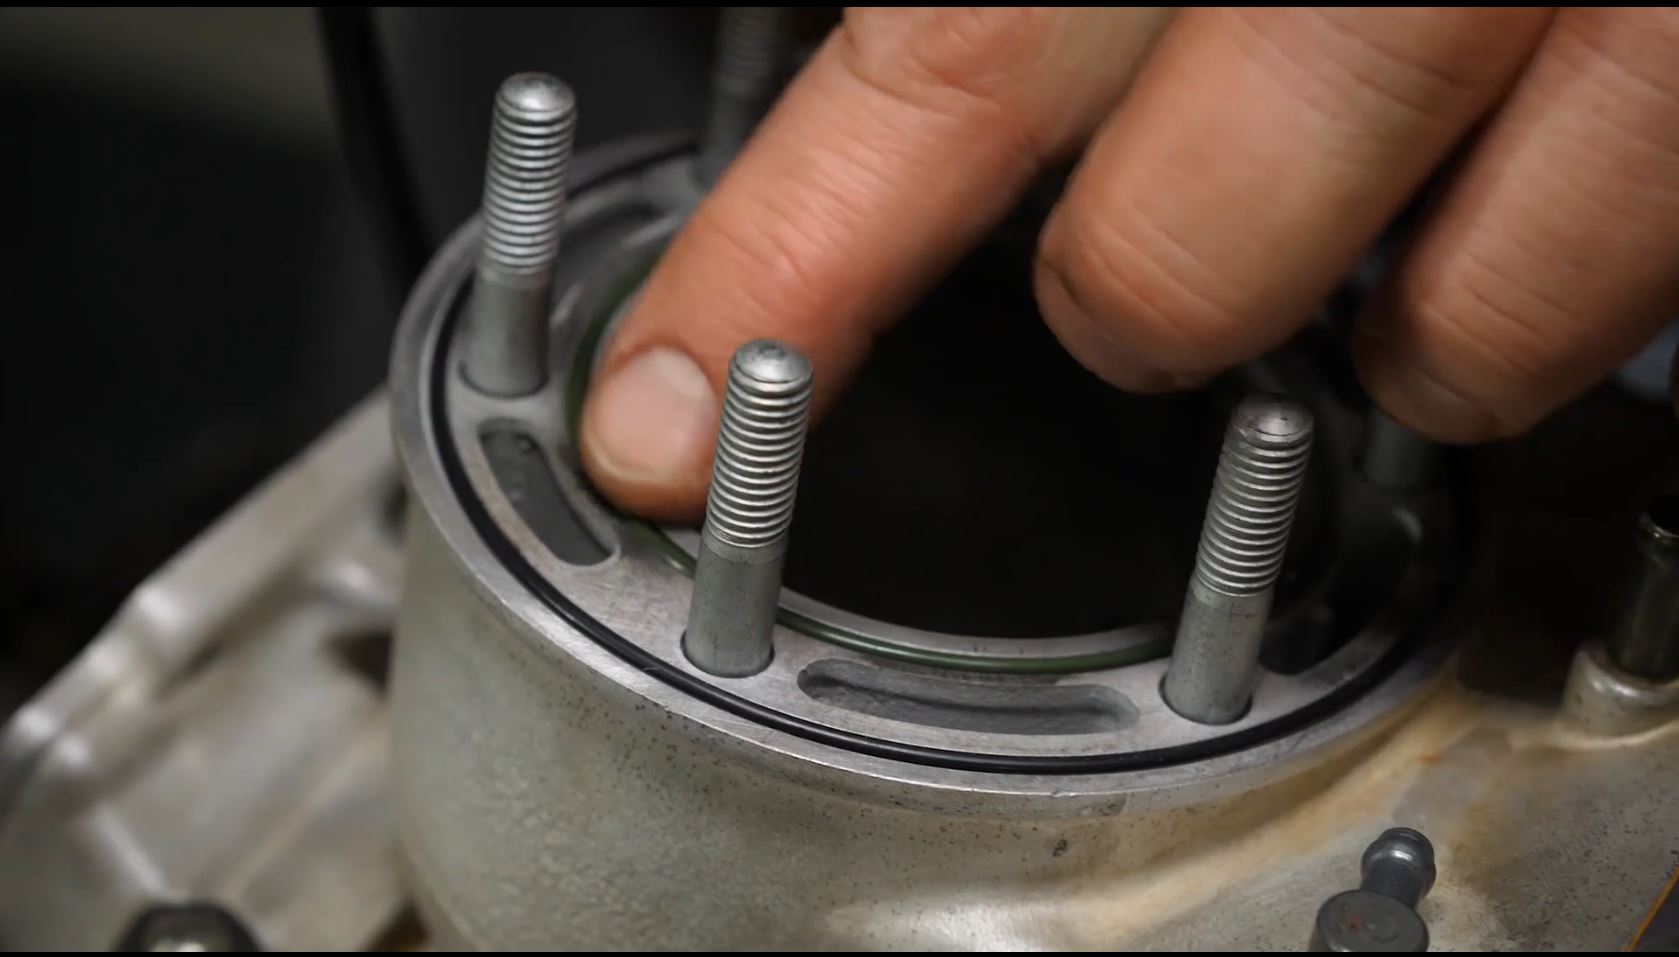
Install the Cylinder Head
First, install the O-rings. The smaller one goes in the center and the larger one goes around the outside. Be sure they’re seated in their grooves to avoid pinching or breaking them. Push the cylinder head down on top of the engine and bolt it down to the proper torque specs. Tighten the bolts in a star pattern.
Install the Carburetor and Other Components
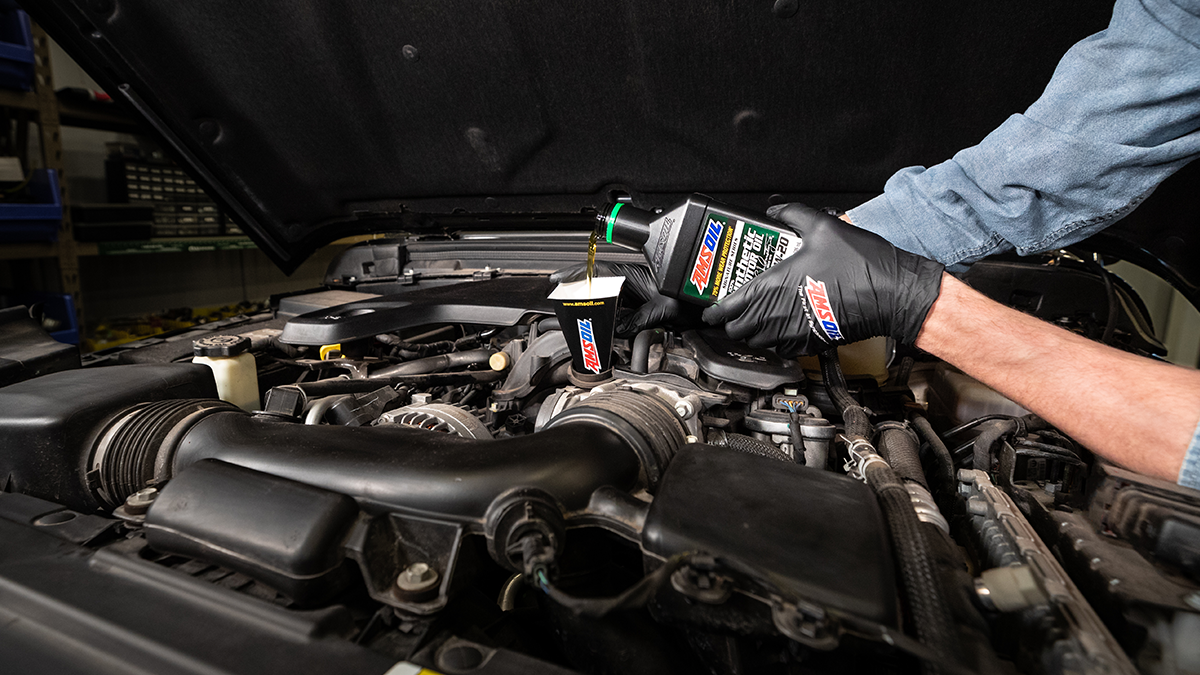
An engine rebuild is a good time to check other areas for maintenance. Consider replacing any carburetor gaskets, needle assemblies or vent tubes, if needed. Now is the perfect time to take care of these types of components. Reinstall the carburetor, reinstall and refill the radiator, install the spark plug, replace the exhaust and replace the plastic components.
Test the Dirt Bike
It’s time to fire up the bike.
As soon as the bike fires, check for leaks. Put your hand on the radiator. Make sure that it’s starting to generate heat. Apply the throttle to run the engine through the power band. Don’t over-rev the engine; just ensure it runs at variable rpm and doesn’t simply idle. Doing so will help break in the rings.
Take it easy on the engine for the first tank of fuel to help seat the rings and break-in the new parts. After that, you’re ready to race again.

Comments
Share: