In this video, we show you how to rebuild dirt bike fork seals and bushings, and change suspension fluid.
How to Rebuild Dirt Bike Forks
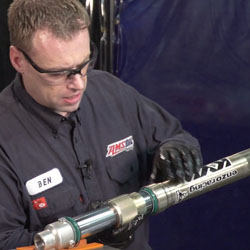
For this demonstration, we’re using KYB 48-ml air-over-spring (AOS) forks from a 2009 Honda CRF450R.
Common reasons for a fork-seal leak include bad bushings, which will cause the lower fork leg to move and cause an oil leak; dirt or debris breaching the seal; or a rock chip or nick in the lower fork tube sliding past and ripping the seal.
Tools You Need
- Owner’s manual or other instructions for installing fork seals
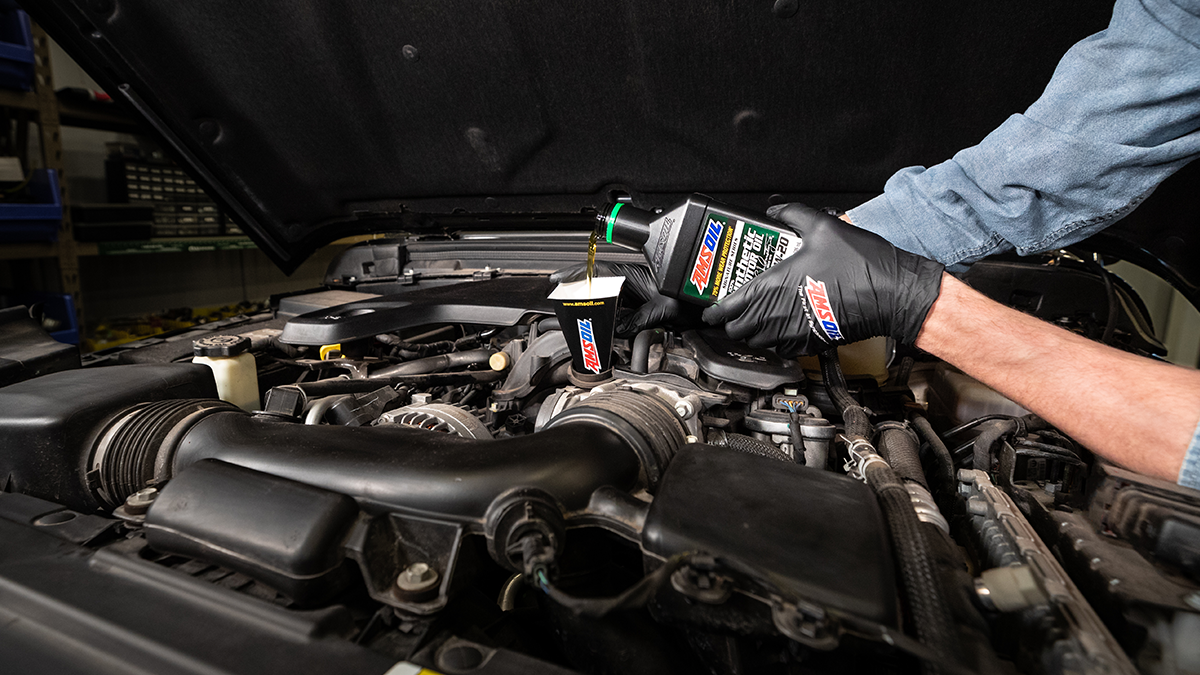
- Suspension fluid (at least two quarts for each fork)
- Seals and fork bushings
- Properly sized seal driver
- Seal bullet to help install the seals
- Seal driver
- Fork-cap hex wrench and fork-cap wrench
- Torque wrench
- Soft hammer
- Screwdrivers
- Picks
- Nitrile gloves
- 17-mm and 19-mm sockets and ratchet
- 14-mm wrench
- Contact or brake cleaner
- Drain pan
- Graduated cylinder
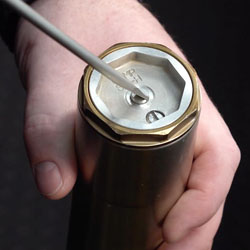 Check Compression and Rebound Clickers
First, use a standard screwdriver to determine the settings of the compression and rebound clickers. Starting with the compression, turn the screw clockwise and count the number of clicks until it’s seated. Write down the number. Then, unscrew the compression valve all the way until it stops.
Repeat the process with the rebound, which is usually located on the bottom of the fork.
Drain the Suspension Fluid
Next, clamp the fork assembly in a vise using a pair of soft-jaws and loosen the cartridge cap nut. Remove the fork body and tip it upside down to drain the suspension fluid into the drain pan.
Clamp the fork body into the vise and loosen the rebound-adjusting nut. Once the threads are exposed and it has stopped moving, it’s time to compress the spring. Use a 14-mm wrench to hold the lock nut and the bottom of the fork lug. Remove the rebound-adjustment nut. It’s important to pull the rebound-adjustment rod out so it doesn’t fall and become damaged.
Compress the spring and remove the wrench. Now, unthread the top and slide the fork body down. You can now remove the cartridge. There should be a spring with it. Set everything aside for now.
 Next, remove the dust seal. Use a small standard screwdriver and hammer to pop it out. Remove the small retaining ring with a pick.
Remove the Seals and Bushings
Now, separate the lower tube from the upper tube. The oil seal, dust seal, retaining washer and bushings will be left on the lower tube. To remove the inner bushing, use a flat-head screwdriver to pry apart the slit and slide the bushing over the edge. Slide off the other bushing, retainer, oil-seal clip and dust seal.
Remove the tube from the vise and set everything on a table in the order in which it was removed. Remove the spring from the fork, the washer and the spring seat. Remove the O-ring, rebound adjuster and copper sealing washer. Clean everything with contact cleaner or in a parts washer. Dry all the parts with compressed air when you’re finished cleaning or let them drip-dry.
Next, remove the compression assembly and piston from the cartridge using the fork-cap hex wrench. Remove the compression valve and set it aside in a clean container. Drain the oil from the cartridge. While it’s draining, inspect the compression assembly and free piston for damage. Clean with Brake & Parts Cleaner that’s O-ring safe or a parts washer. Dry with compressed air.
Fill the Cartridge with Suspension Fluid
Clamp the cartridge in a vise. With the compression assembly in a clean container, add suspension fluid to soak the assembly and help remove air bubbles. Before filling the cartridge with fluid, tape the transfer ports closed with painter’s tape. Pour in suspension fluid slowly to reduce air bubbles. Move the dampening rod slowly to distribute the fluid throughout the cartridge and dislodge air bubbles. Top-off the fluid to just below the threads.
 Install the Compression Assembly
Extend the dampening rod as far as it’ll go. Remove the assembly from its container of suspension fluid and install it into the cartridge. Rotate the assembly and install it at an angle to eliminate as many air bubbles as possible. Eventually it will float in the fluid straight up and down. Let it settle into the cartridge until it stops. Next, move the lower dampening rod up while applying light pressure to the assembly.
Bleed Air from the Cartridge
Start by lightly holding the compression assembly and pushing up on the dampening rod. The compression assembly will rise with the dampening rod. Eventually, it will stop. At that point, push about 15 to 20 mm farther and then fully extend the dampening rod, which will draw the assembly into the cartridge until the threads touch. Tighten the assembly into the cartridge using the fork-cap hex wrench and a torque wrench.
Next, remove the cartridge from the vise and remove the tape over the transfer ports. While holding the fork assembly over the drain pan, push the dampening rod to remove excess fluid from the ports. Extract the dampening rod and repeat until the fluid is removed.
Check Dampening-Rod Action
Clamp the cartridge back in the vise to ensure it works correctly. Push the dampening rod until it stops. Then, let it go. It should rebound smoothly with no fluid leaks at the seals.
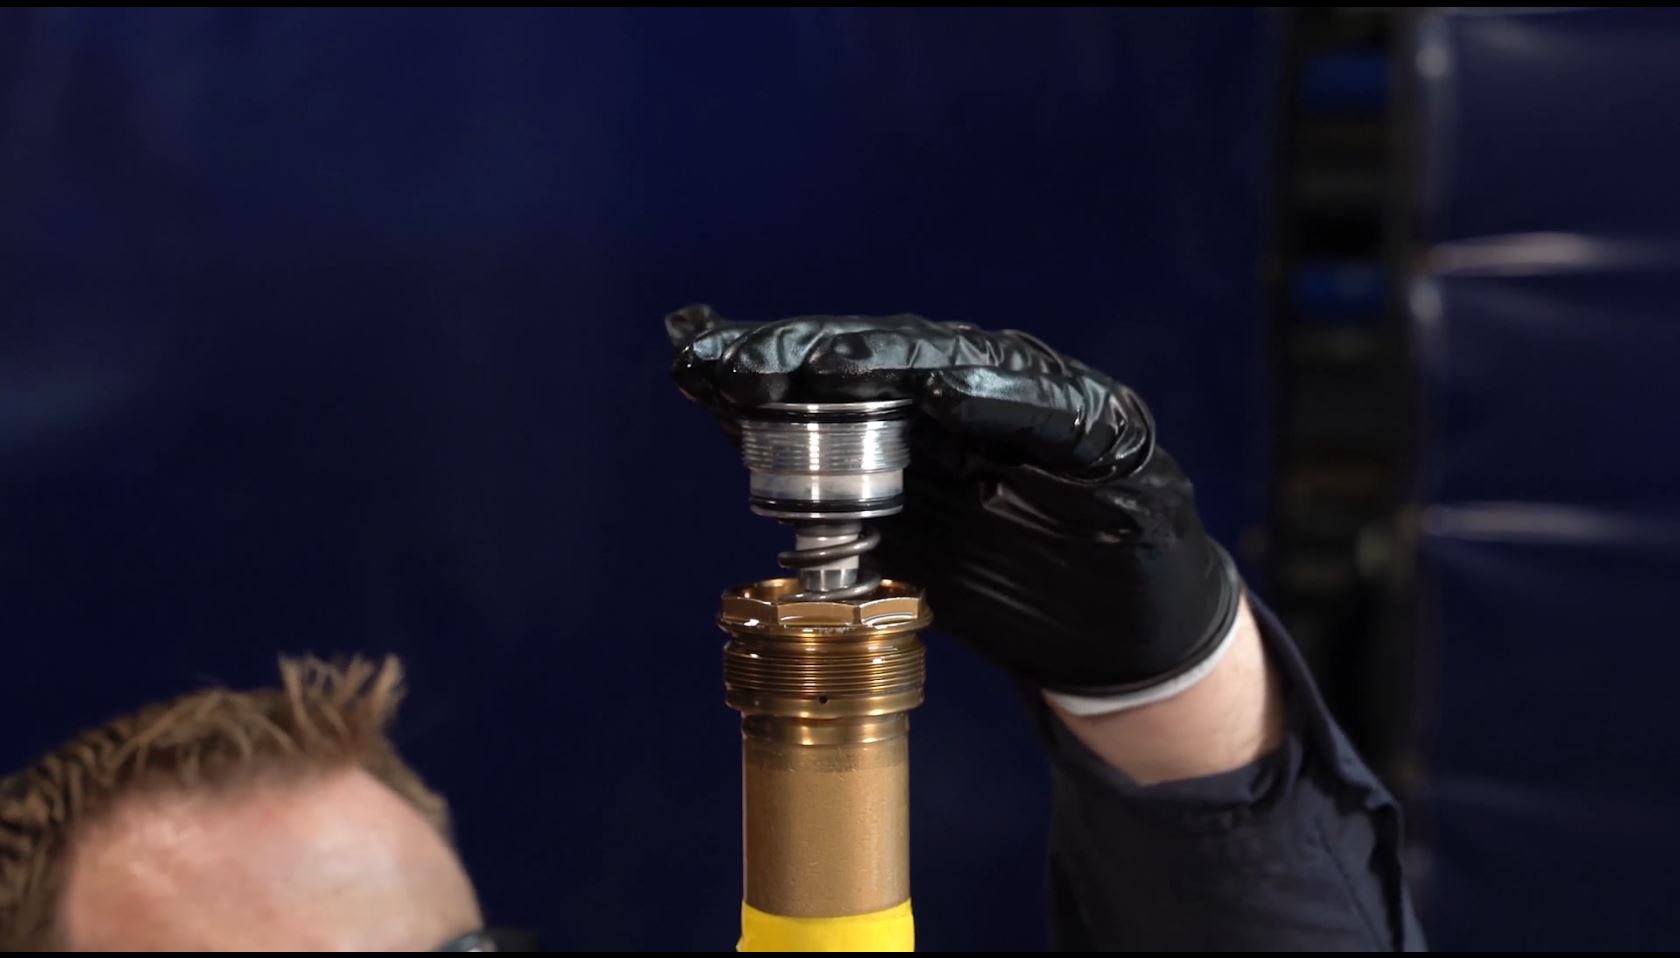
 Install New Fork Seals
Clamp the lower-fork tube in the vise. Inspect its surface for nicks or deep scratches. Use 400-grit emery cloth or higher to sand anything you can feel with a fingernail. Always sand perpendicular to the fork tube.
Next, install the new fork seals and bushings. Place the seal bullet over the end of the fork tube. While wearing gloves, dip your finger in clean suspension fluid and lubricate the fork tube.
Install the dust seal first. Next, install the retaining clip for the oil seal, then the oil seal. It helps to lubricate the inside of the seal. Next, install the spacer and the new bushings.
Now we’re ready to install the outer spring tube. Lubricate the inside to ease installation and slide it onto the fork tube. Use a properly sized seal driver to install the seal. Rotate the outer tube while driving the seal to ensure it seats evenly. To know when it’s seated all the way, use a flashlight to check if the seal is below the retaining clip. Now, install the clip. It should make an audible sound once it drops into place. Finally, slide the dust seal on.
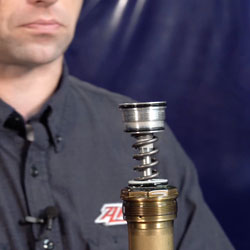
Install the Spring
Now, it’s time to install the cartridge and spring into the fork. First, install the O-ring and spring seat onto the cartridge. Make sure to inspect the O-ring and bushing condition prior to installation. Then, replace the spring seat.
 Install the Rebound Valve
Next, bottom out the jam nut on the dampening rod to provide space to install the rebound valve. To assemble the rebound assembly, start by installing the sealing washer, taking care to inspect the O-ring. Prior to installing into the fork body, install the spring washer. Next, install the spring.
With the fork tube mounted in the vise, install the cartridge assembly, guiding it between the spring until it bottoms out. Use the rebound-adjusting rod to guide the assembly as you push it into place. Finally, install the rebound-adjustment rod. Tighten the assembly into the fork leg to the proper torque specifications.
Add Suspension Fluid
Every suspension company will send a sheet with the suspension that specifies the correct fluid volume to add to the forks. When pouring suspension fluid, angle the fork and make sure the top tube is all the way down so you can pour around the compression tube. Once you’ve added the fluid, slide the lower fork tube up and snug the top cap. Torque to the proper specifications.
Reset the Compression and Rebound Clickers
The final step is to set the compression and rebound clickers to their original settings. Seat the clickers using a screwdriver, then back them out the same number of clicks noted earlier.
For more Dirt Bike Tech Tips, visit our Dirt Bike Maintenance page.

Comments
Share: